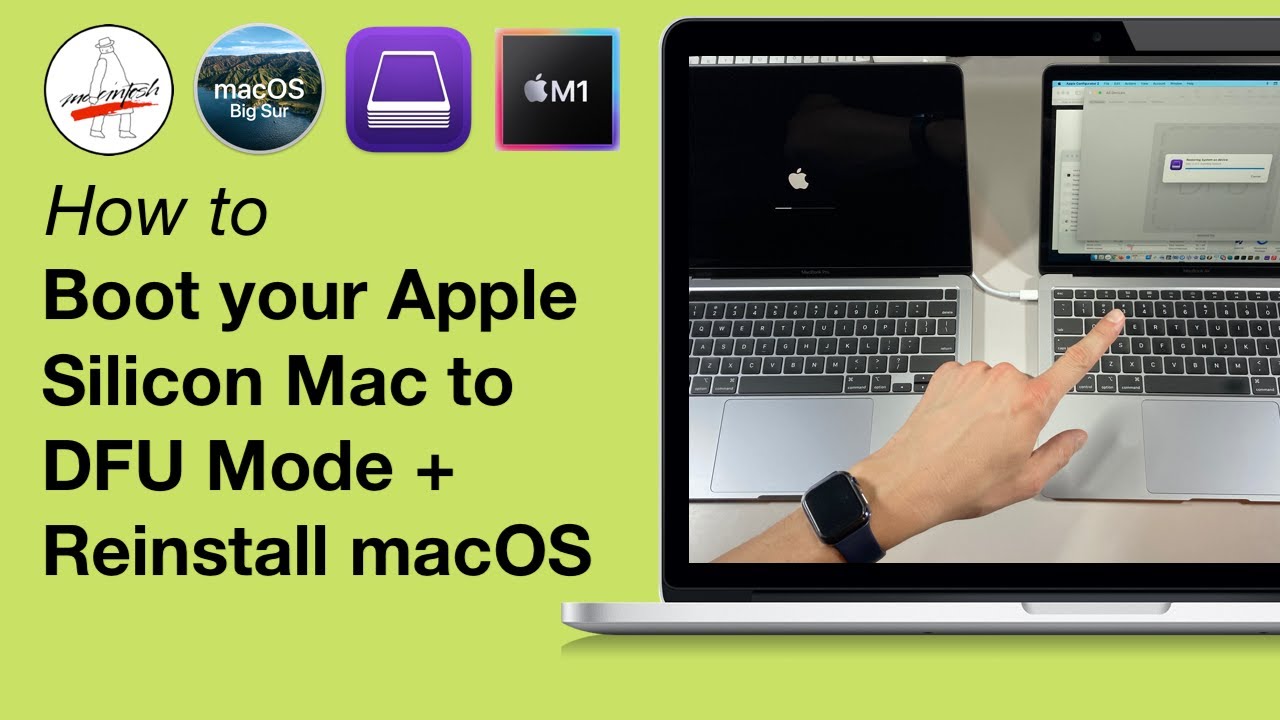
Are you having trouble with your MacBook Pro not booting into recovery mode? Well, don’t worry because we have the answer: DFU Mode. DFU (Device Firmware Update) mode is a special way to reload the software and firmware of your Macbook Pro. This can be used to fix any issues you may be having with your device.
In order to enter DFU Mode on your Macbook Pro, you must first power it down. To do this, press and hold the power button until it shuts off. Then connect the computer to power with the power button pressed down all the time for another 10 seconds. Once this is done, right-click the DFU icon appearing on the Host Mac.
From here, you will need to restart your Macbook Pro and immediately press and hold Command-R to enter recovery mode. Once in recovery mode, open Disk Utility and select the volume you want to erase from the sidebar then click Erase in the toolbar. After erasing, exit Disk Utility and select Reinstall OS X or Restore from Time Machine Backup in Recovery Mode depending on what type of backup you wish to use.
Following these steps should get your Macbook Pro up and running again! If you’re still having issues after trying these steps then it’s best to take it in for professional help as there could be more serious hardware damage that nees addressing. We hope this guide has been helpful in getting your device back in working order!

Entering DFU Mode on a MacBook Pro
To put your Macbook Pro into DFU mode, you’ll need to first power off your computer. Once it’s powered off, press the power button and immediately hold down both the “Option” key and the “Command” key along with the “Power” button. Keep all three buttons pressed for 10 seconds, then release the “Power” button whle still holding down the other two buttons until you see a black screen appear on your Macbook Pro. At this point, your Macbook Pro should be in DFU mode.
What Does DFU Stand For on a Mac?
DFU stands for Device Firmware Update and is a process used to reload the software and firmware of a Mac device. This process allows you to restore your device to its original factory settings, which can help to fix any issues you may be experiencing with it.
Formatting a Macbook Pro in Recovery Mode
You can format your Macbook Pro in Recovery Mode by following these steps:
1. Open the Apple menu, then select Restart. Immediately after restarting, press and hold Command-R to open the Recovery app window.
2. Once the Recovery app window is open, select Disk Utility, then click Continue.
3. In Disk Utility, select the volume you want to erase from the sidebar then click Erase in the toolbar.
4. Select either Mac OS Extended (Journaled) or APFS as your format type and enter a name for your new drive in the Name text field.
5. Click Erase to begin formatting your drive and wait untl it finishes erasing.
6. When finished, close Disk Utility and restart your Macbook Pro as usual to complete the formatting process.
Troubleshooting Macbook Pro Recovery Mode Issues
The most common reason why your Macbook Pro won’t go into recovery mode is becuse it may not have a recovery partition set up. If your Macbook Pro is running an old version of the Mac operating system such as Snow Leopard or earlier, these versions don’t have a recovery partition built-in. Other possible reasons why you may not be able to boot into recovery mode include having a damaged or defective keyboard, or if the startup disk has become corrupted and is no longer readable. It’s also possible that some third-party software installed on the computer could be preventing booting into recovery mode. To troubleshoot this issue, try booting into Safe Mode first, or resetting NVRAM/PRAM if you’re running a newer Mac OS version. You can also try using Disk Utility to repair any disk issues, or using Terminal commands to reset your computer’s settings.
Differences Between DFU Mode and Recovery Mode
No, DFU mode and recovery mode are not the same. DFU (Device Firmware Upgrade) mode is a way to put your iPhone into a state where it can communicate with iTunes on your computer without loading the iPhone’s operating system or boot loader. It is primarily used for updating or restoring firmware on an iPhone. Recovery mode, on the other hand, is a way to revive an iPhone that has stopped working due to a system issue. When you put your device into recovery mode, iTunes will prompt you to restore or update the device.
What are the Effects of DFU Mode?
Once you have entered DFU mode, you can use a computer to perform various tasks with your iPhone. Depending on what you are trying to do, these tasks may include restoring the device to its factory settings, upgrading or downgrading the iOS version, updating from a beta version, or jailbreaking or un-jailbreaking the device. After completing these tasks and ensuring that your device is functioning properly, you can exit DFU mode by pressing and holding both the Home and Power buttons for about 10 seconds until the Apple logo appears.
Does Entering Recovery Mode Erase Everything on a Mac?
No, Recovery Mode will not erase everything on your Mac. Recovery Mode is a special state or mode that allows you to access different tools and functions, but it does not do anything by itself. It is an important tool for troubleshooting and recovering your Mac, but it won’t delete any of your data by itself. However, there are certain tools that can erase data on your Mac, such as Time Machine.
Reinstalling Mac in Recovery Mode
To reinstall Mac in Recovery mode, firt start up your computer in macOS Recovery. You can do this by restarting your computer and holding down Command+R on your keyboard until you see the Apple logo. Once in Recovery, select Reinstall for your macOS release, then click Continue. Follow the onscreen instructions to complete the installation. When selecting a volume to install macOS onto, make sure you choose your current macOS volume (in most cases, it’s the only one available). Once you have selected it and clicked Install, macOS will begin reinstalling from the Recovery partition. When it’s finished, you’ll be able to access your computer as normal with a fresh install of Mac OS X.
Reinstalling OSX When Recovery Does Not Work
Reinstalling OSX can be done in a few different ways. First, if you have access to another Mac, you can use Disk Utility to create a bootable installer for the operating system. You’ll need a USB drive with at least 16GB of available storage. Simply format the drive to Mac OS Extended (Journaled), then open Disk Utility, select the USB drive from the list and click “Restore”. Choose your Mac’s hard drive as the source and your USB drive as the destination, then click “Restore” again. Once the process is finished, the USB drive will be bootable.
If you don’t have access to another Mac, you can download an official version of macOS from Apple’s website and use it to create a bootable installer on your own machine. To do this, open System Preferences > Software Update and download the latest version of macOS available. Once downloaded, follow these steps:
1) Connect your USB drive to your computer.
2) Open Terminal (located in Applications/Utilities).
3) Enter sudo /Applications/Install\ macOS\ Sierra.app/Contents/Resources/createinstallmedia –volume /Volumes/MyVolume –applicationpath /Applications/Install\ macOS\ Sierra.app –nointeraction
4) Enter your admin password when prompted.
5) When finished, restart your computer wile holding down the Option key and select “Install macOS [version]” from the Startup Manager screen that appears.
6) Follow on-screen instructions to complete installation process.
These steps should help you reinstall OSX if recovery won’t work.
Starting Mac in Recovery Mode from Command Prompt
If you need to start your Mac in Recovery mode from the Command Prompt, you can do so by restarting your Mac and holding down Command + R keys until the startup screen appears. Once the startup screen appears, you will be presented with a few options. Select the option to “Restart into Recovery Mode” and then your Mac will boot into macOS Recovery where you can access a variety of tools and utilities, including Terminal.
Conclusion
In conclusion, the DFU mode for a MacBook Pro is a useful tool for troubleshooting and restoring your device if it is not booting properly. It resets the software and firmware of your device, allowing you to start fresh if something is preventing your Mac from running as it should. To perform a DFU Restore, you will need to hold down the power button while connecting the computer to power, then right-click the DFU icon appearing on the Host Mac. Additionally, you may need to erase your disk if the issue persists. With thee steps in mind, you can easily use this tool to get back up and running with minimal hassle.


