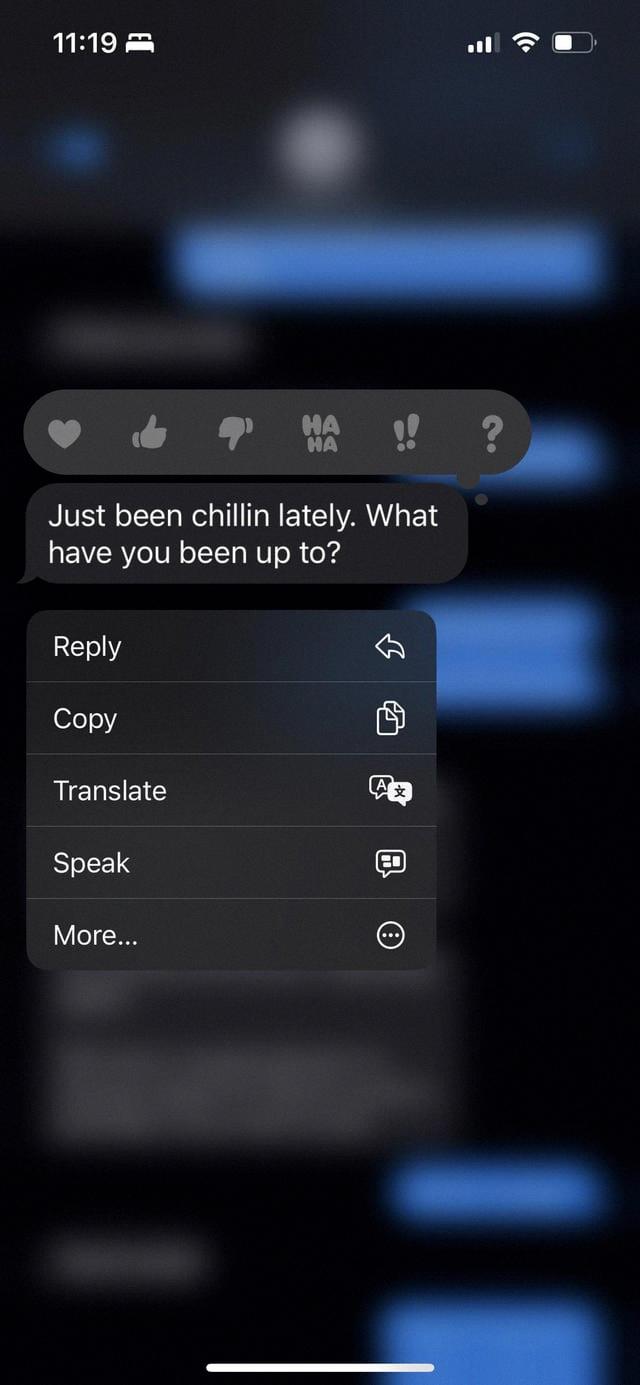
Pictures are a wonderful way to capture and preserve memories. Whether it’s a beautiful landscape, a candid moment with loved ones, or a stunning piece of art, pictures have the power to evoke emotions and tell stories. However, there are times when our pictures don’t turn out as sharp and clear as we’d like them to be. Blurry photos can be frustrating, especially when they capture a special moment that can’t be recreated. Thankfully, with the advancement of technology, there are ways to unblur pictures and enhance their sharpness. In this article, we will explore how to unblur a picture on an iPhone using various methods.
One of the primary causes of blurry pictures is improper focusing. If your subject is not in focus, the resulting image will appear blurry. To fix this, you can adjust the focus and depth of field in your picture. On an iPhone, you can tap on the area you want to focus on before taking the photo. This will ensure that the camera focuses correctly and captures a sharper image.
Another technique to improve the sharpness of a blurry picture is to use image stabilization. Many iPhone models have built-in optical image stabilization, which helps reduce camera shake and blurriness. To enable image stabilization, go to the camera settings on your iPhone and make sure it is turned on. This feature will automatically stabilize the image when you take a photo, resulting in sharper pictures.
If you have already taken a blurry photo and want to fix it, you can use editing tools available in apps like Adobe Lightroom. After importing the blurry photo into the app, you can swipe right on the toolbar and tap on “Details.” This will give you access to various adjustment controls, including sharpening, radius, detail, and masking. By tweaking these settings, you can enhance the sharpness of your photo and reduce blurriness. Once you are satisfied with the adjustments, you can save the image.
In addition to editing apps, there are also online tools available that can help unblur pictures. One such tool is MyEdit, which offers an AI-powered deblur feature. To use this tool, you need to log in to the MyEdit website with your Google, Facebook, App Store, or Cyberlink account. From the menu, choose “Deblur” and import the blurry image you want to fix. The AI tool will automatically analyze and unblur the image. You can further adjust the deblur strength according to your preference and then download the enhanced image.
It is worth mentioning that while these methods can improve the sharpness of a blurry picture, they have their limitations. If the blurriness is severe or the image quality is low, the results may not be as satisfactory. It is always best to strive for clear and properly focused photos when capturing moments to avoid the need for extensive editing later.
Blurry pictures can be disappointing, but with the right techniques and tools, it is possible to unblur and enhance their sharpness. Whether it’s adjusting focus and depth of field, utilizing image stabilization, or using editing apps and online tools, there are options available to improve the clarity of your photos. So don’t let a blurry picture ruin a precious moment, try out these methods and enjoy sharp and clear images on your iPhone.
Can You Unblur A Photo On IPhone?
It is possible to unblur a photo on an iPhone using the Adobe Lightroom app. To do this, you will need to download and open the Adobe Lightroom app from the App Store on your iPhone. Once you have opened the app, tap on the gallery icon to import the blurred photo that you want to unblur.
After importing the photo, swipe right on the toolbar to access the editing options. Tap on the “Details” tab to access the various controls that can help you unblur the photo. These controls include sharpening, radius, detail, and masking.
To unblur the photo, you can adjust the sharpening control to increase the overall sharpness of the image. The radius control allows you to adjust the size of the areas that will be sharpened. Increasing the detail control can enhance the finer details in the photo, while the masking control helps you to limit the sharpening to specific areas.
It is important to note that while these controls can improve the sharpness of a photo, they may not be able to completely remove all blurriness. The extent to which you can unblur a photo will depend on the severity of the blur and the quality of the original image.
Once you have adjusted the various controls to your satisfaction, you can click on the “Upload” or “Save” button to save the edited image. This will create a new, unblurred version of the photo in your Lightroom gallery.
The Adobe Lightroom app on iPhone provides tools and controls that can help you unblur a photo. By adjusting factors such as sharpening, radius, detail, and masking, you can enhance the sharpness and clarity of the image. However, it is important to manage your expectations as the extent of the improvement will depend on the severity of the blur and the quality of the original photo.

How Do You Make A Blurry Picture Clear?
To make a blurry picture clear, there are several techniques you can employ:
1. Adjust focus and depth of field: If your camera allows manual focusing, try adjusting the focus to sharpen the image. Additionally, adjusting the depth of field can help bring the subject into focus while blurring the background.
2. Use image stabilization techniques: Blurry images can often result from camera shake. To counteract this, use a tripod or stabilize your camera by bracing it against a solid surface. This will help eliminate unwanted motion and produce sharper images.
3. Customize sharpness and contrast: Post-processing software, such as Adobe Photoshop or Lightroom, offers tools to enhance sharpness and contrast in your images. Experiment with these adjustments to bring out more details and make your picture appear clearer.
4. Implement available deblurring algorithms: Some software applications and online tools offer deblurring algorithms designed specifically to sharpen blurry images. These algorithms analyze the image and attempt to restore sharpness. Explore these options to see if they can help improve your picture.
5. Merge multiple exposures (HDR): If you have several images of the same subject taken at different exposures, you can merge them using High Dynamic Range (HDR) techniques. This process combines the sharp areas of each image, resulting in a final picture with improved clarity and detail.
Step-by-step process:
1. Import your blurry picture into a post-processing software or online editing tool.
2. Access the specific tool or feature designed to enhance sharpness and clarity. This may be called “sharpening,” “clarity,” or “detail enhancement.”
3. Experiment with the available settings to find the optimal balance between sharpness and natural appearance.
4. If your software or tool offers deblurring functions, apply them to see if they further improve the image quality.
5. If you have multiple exposures of the same subject, merge them using HDR techniques to enhance sharpness and detail.
6. Save the edited image in the desired format and resolution.
By following these techniques and steps, you can significantly improve the clarity and sharpness of a blurry picture.
Can IPhone Make A Blurry Picture Clear?
The iPhone has the ability to improve the clarity of blurry photos using the native Photos app. This app offers a range of editing tools that can enhance the sharpness of your images.
To fix a blurry photo on your iPhone, follow these steps:
1. Open the Photos app and select the blurry photo you want to fix.
2. Tap the “Edit” button located at the top right corner of the screen.
3. You will now see a variety of editing options at the bottom of the screen. Tap the “Adjustments” icon, which looks like a dial with dots around it.
4. Among the adjustments, you will find a tool called “Sharpness.” Tap on it to access the sharpness adjustment slider.
5. Slide the sharpness adjustment slider to the right to increase the overall sharpness of the photo. Move it slowly and observe the changes to avoid over-sharpening, which can introduce noise and artifacts.
6. After adjusting the sharpness, you can further enhance the photo using other editing tools available in the app. These include exposure, contrast, saturation, and more. Experiment with these settings to achieve the desired result.
7. Once you are satisfied with the edits, tap “Done” to save your changes.
In addition to the sharpness adjustment, the Photos app also provides other features like the “Auto” button, which automatically applies adjustments based on the app’s analysis of the photo. This can be a quick and easy option to enhance the overall quality of a blurry image.
Remember that while the Photos app can help improve the clarity of a blurry photo to some extent, it cannot magically fix heavily blurred or out-of-focus images. In such cases, the results may be limited. It’s always best to capture clear and focused photos from the start to ensure the highest quality.
How Do I Unblur An Image?
To unblur an image online, you can follow these steps:
1. Login to the MyEdit website using your Google, Facebook, App Store, or Cyberlink account.
2. Once logged in, navigate to the menu and select the “Deblur” option.
3. From there, you will be prompted to import an image from your device that you want to unblur. Choose the desired image and upload it.
4. The AI tool on the website will then automatically start the unblurring process for your image. This may take a few moments depending on the complexity of the blur and the size of the image.
5. Once the tool has finished unblurring the image, you will have the option to adjust the deblur strength. This allows you to fine-tune the level of clarity you want in the final result.
6. After adjusting the deblur strength, you can proceed to download the unblurred image. The website will provide a download link or button for you to easily save the image to your device.
By following these steps, you will be able to unblur an image using an online tool without the need for any specialized software or technical skills.
Conclusion
Fixing blurry photos is possible using various tools and techniques. One option is to adjust the focus and depth of field to bring clarity to the image. This can be done by using techniques such as manual focus or using the depth of field settings on your camera. Another method is to utilize image stabilization techniques, either by using a tripod or utilizing the stabilization features available in some cameras or editing software.
Customizing sharpness and contrast can also help improve the clarity of a blurry photo. By adjusting these settings, you can enhance the details and make the image appear sharper. Additionally, implementing available deblurring algorithms can be a powerful tool in restoring focus to a blurry image. These algorithms analyze the image and apply corrections to reduce blurriness.
Lastly, merging multiple exposures, such as in HDR photography, can also be used to enhance the sharpness of a blurry image. By combining multiple images taken at different exposure levels, you can capture a wider dynamic range and bring out more details in the photo.
There are several methods available to make blurry images sharp. It’s important to experiment with different techniques and find the ones that work best for your specific image. Whether it’s adjusting focus, utilizing stabilization, customizing sharpness, applying deblurring algorithms, or merging exposures, each method can contribute to enhancing the clarity and overall quality of your photos.


