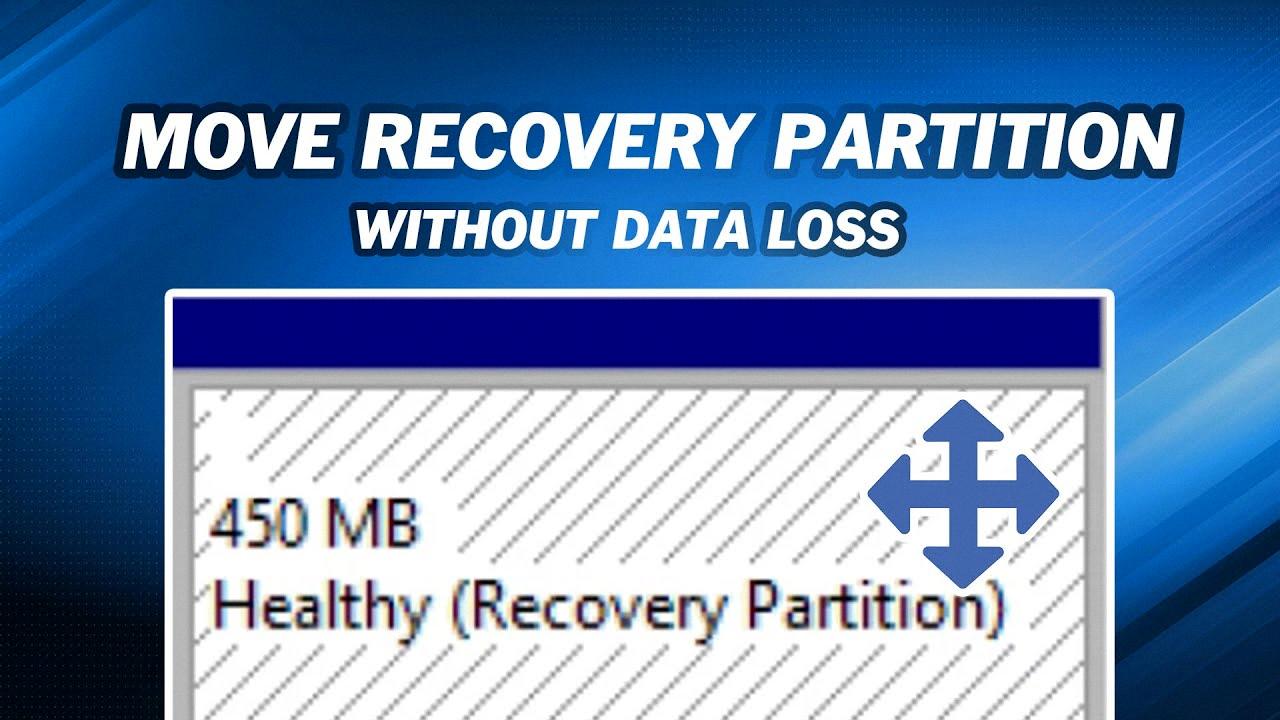
If you’ve recently upgraded your hard drive and want to transfer your recovery partition to the new one, you’re in the right place. In this step-by-step guide, we’ll walk you through the process of copying the recovery partition to your new hard drive.
Step 1: Connect your new hard drive to your computer
Start by connecting your new hard drive to your computer. Make sure it is properly connected and can be detected by your operating system.
Step 2: Prepare your new hard drive
Before copying the recovery partition, you need to prepare your new hard drive. This involves formatting it and creating a partition where the recovery partition will be copied to. You can use disk management tools or third-party software to perform this task.
Step 3: Select the recovery partition as the source
Once your new hard drive is ready, you need to select the recovery partition on your old hard drive as the source. This is the partition that contains the recovery files and tools.
Step 4: Select the new hard drive as the destination
Next, select the new hard drive you prepared in step 2 as the destination for the recovery partition. This is where the recovery partition will be copied to.
Step 5: Start the copying process
Now that you have selected the source and destination partitions, you can start the copying process. Depending on the size of the recovery partition, this process may take some time. Be patient and let the software do its job.
Step 6: Verify the copied recovery partition
Once the copying process is complete, it’s important to verify that the recovery partition has been successfully copied to the new hard drive. You can do this by checking the contents and size of the partition on the new hard drive.
That’s it! You have successfully copied the recovery partition to your new hard drive. Now, if you ever need to use the recovery tools or restore your system, you can do so from the new hard drive. Remember to keep both the old and new hard drives in a safe place in case you need them in the future.
How Do I Move A Recovery Partition To Another Drive?
To move a recovery partition to another drive, follow these steps:
1. Connect your new hard drive to your computer using a suitable connection method such as SATA or USB. Ensure that the new hard drive is properly detected by your computer.
2. Open a disk management tool on your computer. This can usually be done by right-clicking on the Start button and selecting “Disk Management” from the context menu.
3. In the disk management tool, locate the recovery partition that you want to move. It is usually labeled as “Recovery” or has a small size compared to other partitions.
4. Right-click on the recovery partition and select the option to “Copy” or “Clone” the partition.
5. A wizard or dialog box will appear, prompting you to select the destination drive for the recovery partition. Choose the new hard drive that you connected in step 1 as the destination.
6. Follow the on-screen instructions to complete the cloning process. Depending on the size of the recovery partition and the speed of your computer, this process may take some time.
7. Once the cloning process is complete, you will have a copy of the recovery partition on your new hard drive. You can now safely remove the old hard drive if desired.
Please note that moving a recovery partition to another drive may require additional steps to ensure that it remains bootable and functional. It is recommended to consult the documentation provided by your computer manufacturer or seek assistance from a professional if you are unsure about the process or its implications.

How Do I Move A Healthy Recovery Partition In Windows Server?
To move a healthy recovery partition in Windows Server, you can follow these steps:
1. Open the Command Prompt as an administrator: Right-click on the Start button and select “Command Prompt (Admin)”.
2. Disable the Recovery Partition: In the Command Prompt window, type the following command and press Enter:
“`
Reagentc /disable
“`
This will disable the recovery partition temporarily.
3. Locate the Windows Recovery Partition file: Open File Explorer and navigate to the root folder of your system drive (usually C:). Look for a file named “WinRE.wim” or “WinRE.wim” in the Windows\System32\Recovery folder. Take note of the file path.
4. Launch DiskPart: In the Command Prompt, type “diskpart” and press Enter. This will open the DiskPart command-line tool.
5. List the disks in DiskPart: Type “list disk” in DiskPart and press Enter. This will display a list of all the disks connected to your system.
6. Verify the disk type: Identify the disk where the recovery partition is located and make sure it is a GPT disk. GPT disks are required to move the recovery partition. You can check the “Gpt” column to confirm.
7. Select the disk in DiskPart: Type “select disk X” (replace X with the disk number) and press Enter. This will select the disk where the recovery partition is located.
8. List the partitions in DiskPart: Type “list partition” in DiskPart and press Enter. This will display a list of all the partitions on the selected disk.
9. Select the partition in DiskPart: Type “select partition Y” (replace Y with the partition number) and press Enter. This will select the recovery partition.
10. Move the recovery partition: Type “set id=de94bba4-06d1-4d40-a16a-bfd50179d6ac override” and press Enter. This command will change the partition type to the Windows Recovery Environment partition.
11. Exit DiskPart: Type “exit” and press Enter to exit DiskPart.
12. Enable the Recovery Partition: In the Command Prompt, type the following command and press Enter:
“`
Reagentc /enable
“`
This will enable the recovery partition again.
After following these steps, the healthy recovery partition should be successfully moved to the desired location on your Windows Server. Make sure to double-check the changes and ensure that all the necessary files are in the new location.
How Do I Move Or Delete A Recovery Partition?
To move or delete a recovery partition in Windows, you can follow these steps:
1. Right-click on the “Start” button at the bottom left corner of your screen.
2. From the list of options that appears, click on “Disk Management”.
3. The Disk Management window will open, displaying a list of all the partitions on your computer.
4. Locate the recovery partition that you want to move or delete.
5. Right-click on the partition and select “Delete Volume” from the context menu.
6. A warning message will appear, asking for confirmation to delete the partition. Make sure you have backed up any important data on that partition before proceeding, as deleting it will remove all the data stored on it.
7. After confirming the deletion, the recovery partition will be removed from your system.
8. If you want to move the recovery partition to a different location on your hard drive, you can right-click on it and select “Shrink Volume”.
9. Enter the amount of space you want to shrink from the partition.
10. Once the partition has been shrunk, you can then right-click on the unallocated space and select “New Simple Volume” to create a new partition in that space.
Remember to exercise caution when deleting or moving partitions, as it can potentially affect the functioning of your computer. It’s always recommended to back up your important data before making any changes to your disk partitions.
How Do I Move A Partition Position?
To move a partition position, follow these steps:
1. Launch Partition Manager: Open the Partition Manager software on your computer. You can find it in your system’s administrative tools or by searching for it in the start menu.
2. Select the Target Partition: In the Partition Manager interface, locate the partition that you want to move. It will be listed along with other partitions on your disk.
3. Choose “Resize/Move”: Right-click on the target partition and select the “Resize/Move” option from the context menu. This will open a new window with options for resizing and moving the partition.
4. Adjust the Partition Size: In the Resize/Move window, you will see a graphical representation of your disk partitions. Drag the partition panel either rightward or leftward to adjust its size. This will create unallocated space adjacent to the partition.
5. Confirm the Changes: After adjusting the partition size, click “OK” to confirm the changes. This will save the new configuration and close the Resize/Move window.
6. Apply the Changes: Back in the main Partition Manager interface, you will see a pending operation for the partition move. Click on the “Apply” button to apply the changes to your disk. Note that this step may require your computer to restart, so make sure to save any unsaved work before proceeding.
7. Wait for the Process to Complete: The partition move process may take some time depending on the size of the partition and the speed of your computer. Be patient and allow the software to complete the operation.
Once the process is finished, the partition will be moved to the new position on your disk. It’s important to note that moving a partition carries some risks, so it’s advisable to back up your important data before making any changes to your disk partitions.
Conclusion
Moving a recovery partition to a new hard drive can be done in a few simple steps. First, ensure that the new hard drive is properly connected and detected by your computer. Then, select the recovery partition as the source partition and choose the new hard drive as the destination.
To copy the recovery partition, you can use various methods such as the command prompt or disk management tools. One common method is to run CMD as admin and use DiskPart to disable the recovery partition, list and select the disks and partitions, and finally copy the recovery partition to the new hard drive.
Once the recovery partition is successfully copied to the new hard drive, you may choose to remove the original recovery partition from the old hard drive. This can be done by accessing Disk Management, right-clicking on the partition you wish to delete, and selecting “Delete Volume”.
It’s important to note that before moving the recovery partition, it’s recommended to back up any important data from both the source and destination drives to avoid any potential data loss.
Moving a recovery partition to a new hard drive is a relatively straightforward process that can be accomplished with the right tools and steps. By following the instructions provided and taking necessary precautions, you can successfully copy the recovery partition and ensure the safety of your data.


