Once your recording is finished, there are two ways to stop it: either click the Stop Icon in the top menu bar or use the default stop recording shortcut: ? + Ctrl + Esc. After you have stopped recording, depending on where you chose to save it, an app may open so that you can view the video.
That’s all there is to it! With just a few clicks and some basic knowledge of shortcuts, anyone can easily record their Mac’s screen using QuickTime Player and stop it when they are done. So grab your Mac and get recording today!
Stopping Screen Recording
To stop recording your screen with QuickTime Player, click the Stop Icon in the top menu bar. This will end the recording session and save the file to your computer. If you don’t see the Stop Icon, you can also press Command + Control + Esc on your keyboard to end the recording. After you finish recording, you can then view and edit your video as needed.
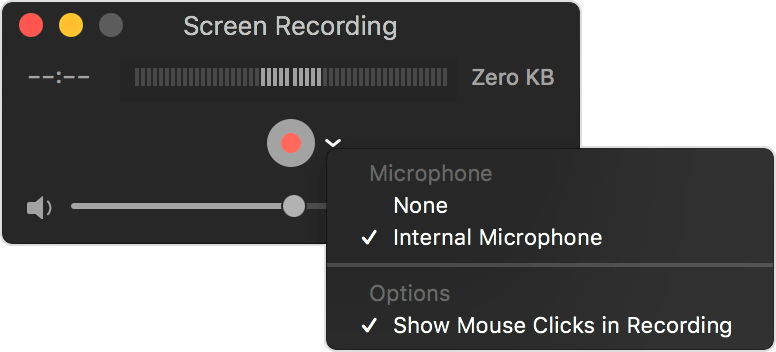
Stopping QuickTime Screen Recording Command
To stop a QuickTime screen recording uing the command line, you can use the shortcut key combination of ? + Ctrl + Esc. This will immediately stop the currently running recording process and will save your recording to its default location.
Stopping QuickTime Recording on Mac
To stop a QuickTime recording on Mac, click the Stop Recording button in the menu bar (or use the Touch Bar). Depending on where you saved the recording, an app may open. Once you have clicked the Stop Recording button, your recording will be saved to your chosen location and the QuickTime recording will be stopped.
Stopping Screen Recording on iOS
To stop a screen recording on your iPhone, open the Control Center by swiping down from the top of the screen. Tap on the red circle at the top left corner of the screen to start recording. Once you’ve recorded everything you need, tap on “Stop” to end the recording. Your video will be saved in your Photos app. If you want to delete it, simply open the Photos app and select “Delete” when prompted.
Editing Screen Recordings on Mac
To edit a screen recording on your Mac, you will need to use the built-in QuickTime application. First, open the QuickTime application located in Applications > QuickTime. Then, click File > Open File and select the screen recording you want to edit. Once the video is open, click Edit > Trim. This will open the trim window, where you can adjust the beginning and end handles to isolate the part of the recording you want to save. Once you have adjusted the handles, click Trim and your edited screen recording will be sved automatically. If you need to make further edits, such as adding annotations or cropping specific parts of the recording, you can do so with additional tools available in QuickTime.


