Setting the correct date and time on your Android device is crucial for various reasons. Whether it’s for staying organized, scheduling events, or ensuring accurate timestamps on your messages and photos, having the right time settings is essential. In this article, we will guide you through the process of updating the date and time on your Android phone.
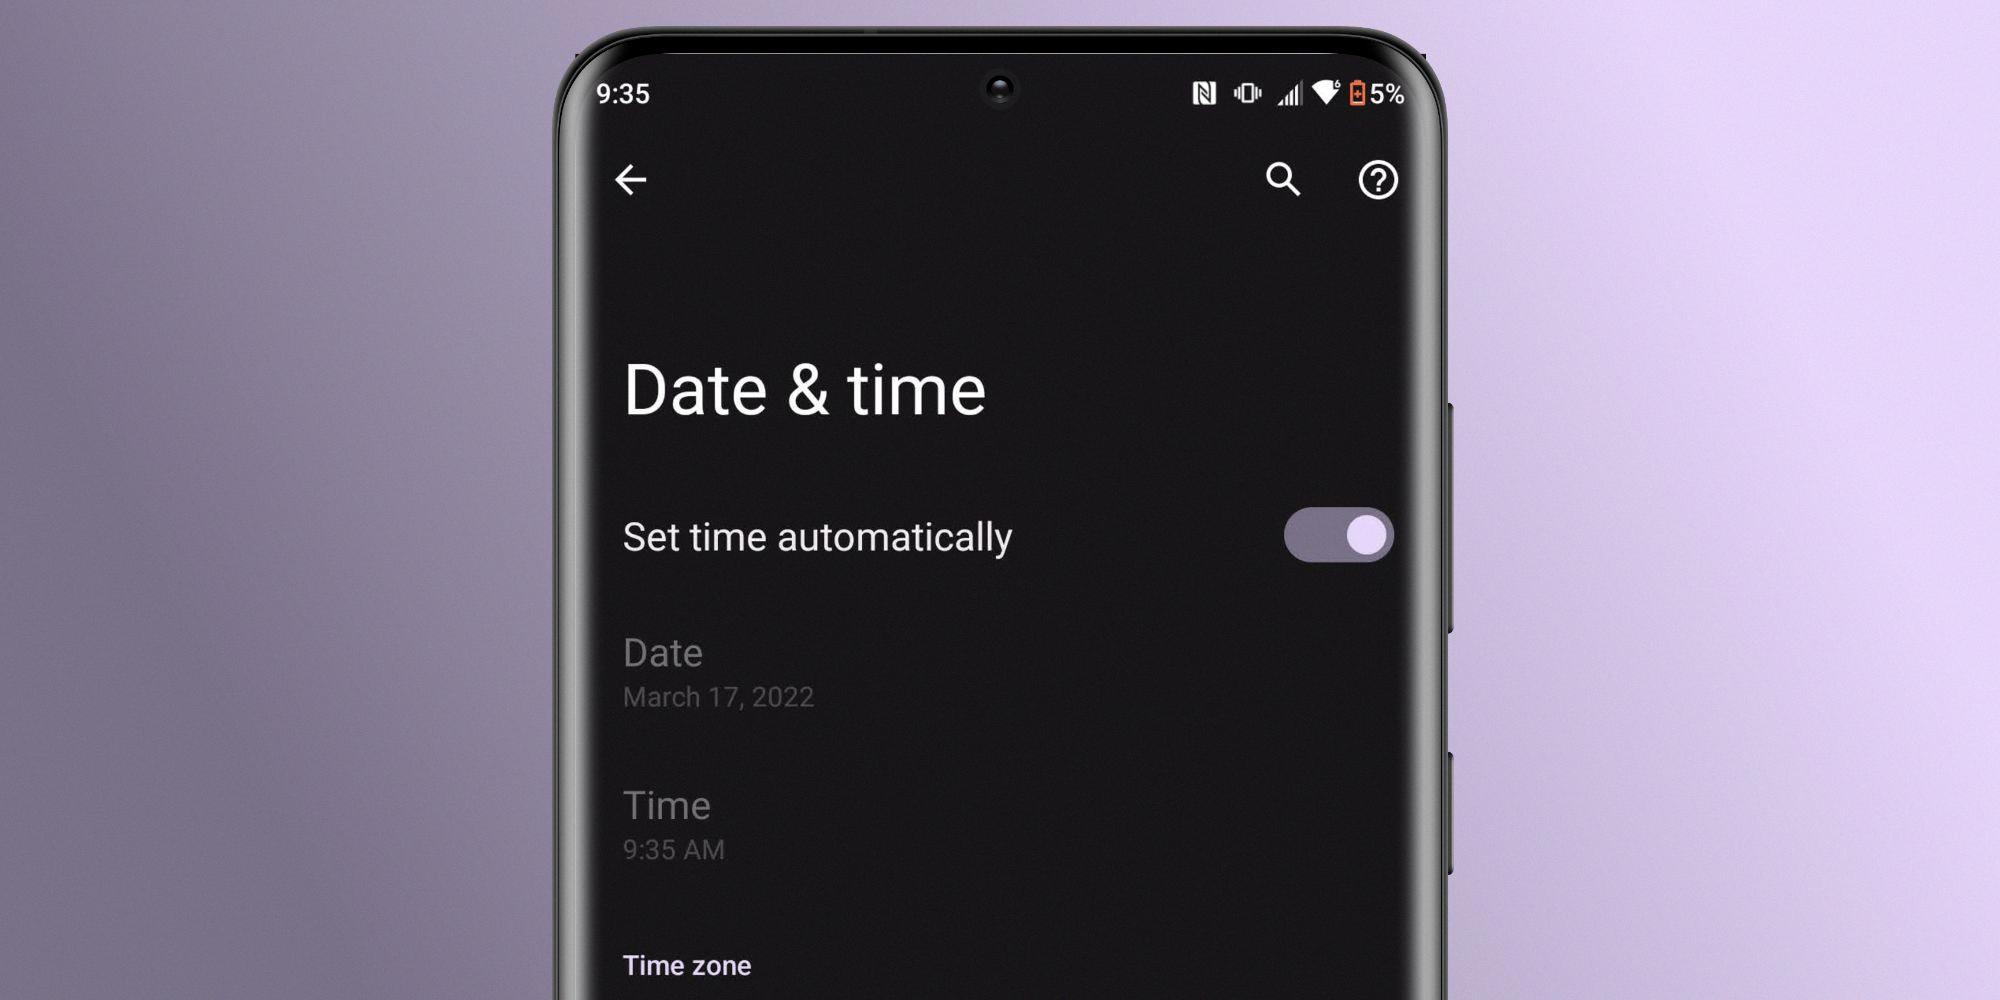
To begin, navigate to the Settings menu on your Android device. This can usually be done by tapping the gear icon, which represents settings, on your home screen. Once you’re in the Settings menu, locate and tap on the “Date & Time” option.
In the Date & Time settings, you’ll find an option called “Automatic.” This feature allows your device to automatically retrieve the current date, time, and time zone from the network provider. It is recommended to have this option enabled for accurate timekeeping. If it’s already turned on, you can proceed to ensure that the correct date, time, and time zone are selected.
However, if the automatic option is turned off, it’s important to manually set the correct date, time, and time zone. To do this, tap on the corresponding fields and select the appropriate options from the provided list. Make sure the date and time are accurate, and select the correct time zone based on your location.
By keeping your device’s date, time, and time zone up to date, you’ll ensure that your device functions properly, and all your activities are accurately recorded. This is particularly important for synchronization with various apps, scheduling appointments, and keeping track of chronological data.
It’s worth noting that some Android devices may have slightly different settings menus or options, so the exact steps may vary slightly depending on your device. However, the general process of accessing the date and time settings remains the same across most Android phones.
Setting the correct date and time on your Android device is crucial for optimal functionality and accurate record-keeping. By following the steps outlined in this article, you can easily update the date, time, and time zone on your Android phone. Remember to keep the automatic option enabled for seamless synchronization with network providers, and regularly check to ensure that the correct settings are in place.
How Do I Turn On The Time On My Android Phone?
To turn on the time on your Android phone, follow these steps:
1. Tap on the “Settings” icon to open the Settings menu.
2. Look for and tap on the “Date & Time” option.
3. If the “Automatic” option is turned off, tap on it to enable it. This will automatically set the date, time, and time zone based on your network or location.
4. If the “Automatic” option is already enabled, double-check that the correct date, time, and time zone are selected.
5. If you prefer to set the date and time manually, disable the “Automatic” option and tap on the corresponding fields to enter the desired date and time.
6. Lastly, ensure that the correct time zone is selected to accurately display the local time.
By following these steps, you will be able to turn on and set the time on your Android phone.

Conclusion
Keeping the date and time updated on your Android device is crucial for various reasons. By ensuring that your device’s date and time are accurate, you can rely on accurate timestamps for various functions and applications. This includes scheduling events, setting reminders, managing appointments, and even tracking activities.
Moreover, having the correct date and time is essential for maintaining synchronization with various online services and platforms. This can include email, social media, online banking, and other time-sensitive activities. It helps ensure that messages and transactions are correctly timestamped and that you receive timely notifications.
Additionally, having the correct time zone selected on your device is important, especially if you frequently travel or communicate with individuals in different parts of the world. It ensures that your device displays the local time accurately, making it easier to coordinate with others and avoid confusion.
To update the date and time on your Android device, you can simply access the Settings menu, tap on Date & Time, and select the Automatic option if it is available. If the Automatic option is turned off, you should manually check and adjust the date, time, and time zone to ensure accuracy.
Regularly updating and maintaining the date and time settings on your Android device is essential for a seamless and efficient user experience. It helps you stay organized, ensures accurate synchronization with online services, and facilitates effective communication with others.


