USB debugging is a crucial feature that allows developers and advanced users to communicate with an Android device over the Android Debug Bridge (adb). By enabling USB debugging, you gain access to a range of powerful tools and capabilities to troubleshoot, debug, and customize your device.
To enable USB debugging, you first need to connect your Android device to your computer using a USB cable. Once connected, follow these steps:
1. On your Android device, open the Settings app.
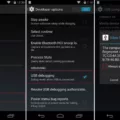
2. Scroll down and tap on “Developer Options.” If you don’t see this option, go to “About Phone” and look for “Build Number.” Tap on “Build Number” seven times to enable Developer Options.
3. In the Developer Options menu, locate and check the “USB Debugging” option. This will allow your device to communicate with your computer via adb.
Now that USB debugging is enabled, you can use adb commands to interact with your Android device. Here’s how you can use adb to enable USB debugging:
1. Connect your Android device to your computer via USB.
2. Open a console window on your computer.
3. Enter the command “adb devices” to check if your device is detected by adb. You should see your device’s serial number listed.
4. If your device is detected, enter the command “adb shell settings put global development_settings_enabled 1” to enable USB debugging.
5. Disconnect and reconnect your device to ensure the changes take effect.
Congratulations! You have successfully enabled USB debugging on your Android device using adb. This will allow you to utilize various adb commands for tasks like installing custom ROMs, capturing screenshots, accessing system logs, and more.
Remember, USB debugging provides powerful capabilities, so it’s important to exercise caution while using it. Make sure to only enable USB debugging when necessary and disconnect your device when you’re done.
That’s it! Now you’re ready to take advantage of USB debugging and explore the full potential of your Android device. Happy debugging!
How Do You Enable USB Debugging Via Adb?
To enable USB debugging on an Android device through adb, follow these steps:
1. Connect your Android device to your computer using a USB cable.
2. On your Android device, open the settings by tapping the gear icon.
3. Look for the “Developer options” or “Developer settings” and tap on it. If you don’t see this option, go to “About phone” or “About device” and locate the “Build number” or “Software information”.
4. Tap on the “Build number” or “Software information” several times (around 7 times) until you see a message saying “You are now a developer” or something similar. This will enable the developer options on your device.
5. Go back to the main settings menu and look for the “Developer options” or “Developer settings” again.
6. Tap on it and scroll down to find the “USB debugging” option.
7. Check the “USB debugging” box to enable it. You may see a warning message, but you can ignore it for now.
8. Once USB debugging is enabled, you can now use adb commands to interact with your Android device from your computer.
Note: The steps may vary slightly depending on the Android version and device manufacturer. If you’re having trouble finding the developer options, refer to the device’s user manual or search online for specific instructions for your device model.
How to Enable USB Debugging with Broken Screen Using Adb Command?
To enable USB debugging with a broken screen using the adb command, follow these steps:
1. Connect your Android device to your computer using a USB cable.
2. Install the Android Debug Bridge (ADB) tool on your computer if you haven’t already. You can download the ADB tool from the official Android developer website.
3. Open a command prompt or terminal window on your computer.
4. Navigate to the folder where the ADB tool is installed. This is usually the platform-tools folder within the Android SDK folder.
5. Once you are in the ADB tool folder, run the following command to check if your device is recognized by ADB: adb devices
6. If your device is listed, proceed to the next step. If not, make sure you have the necessary drivers installed for your device.
7. Now, enter the following command to reboot your device into recovery mode: adb reboot recovery
8. Your device should now reboot into recovery mode.
9. In recovery mode, use the volume keys to navigate and the power button to select options. Look for an option called “Mount” or “Mount USB Storage” and select it.
10. Your device should now be mounted as a USB storage device on your computer.
11. Open a new command prompt or terminal window and navigate to the folder where you want to save the backup files.
12. Run the following command to pull the contents of the clockworkmod/backup folder from your device to your computer: adb pull /data/media/clockworkmod/backup ~/Desktop/Android-up
13. The backup files will be saved to the specified folder on your computer.
14. Once the backup is complete, you can disconnect your device from the computer.
15. To restart your device, use the following command: adb reboot
16. Your device should now boot up normally with USB debugging enabled.
Note: These instructions assume you have a device with a broken screen but still functioning hardware buttons. If your device’s hardware buttons are also not working, it may be more difficult or even impossible to enable USB debugging using ADB.
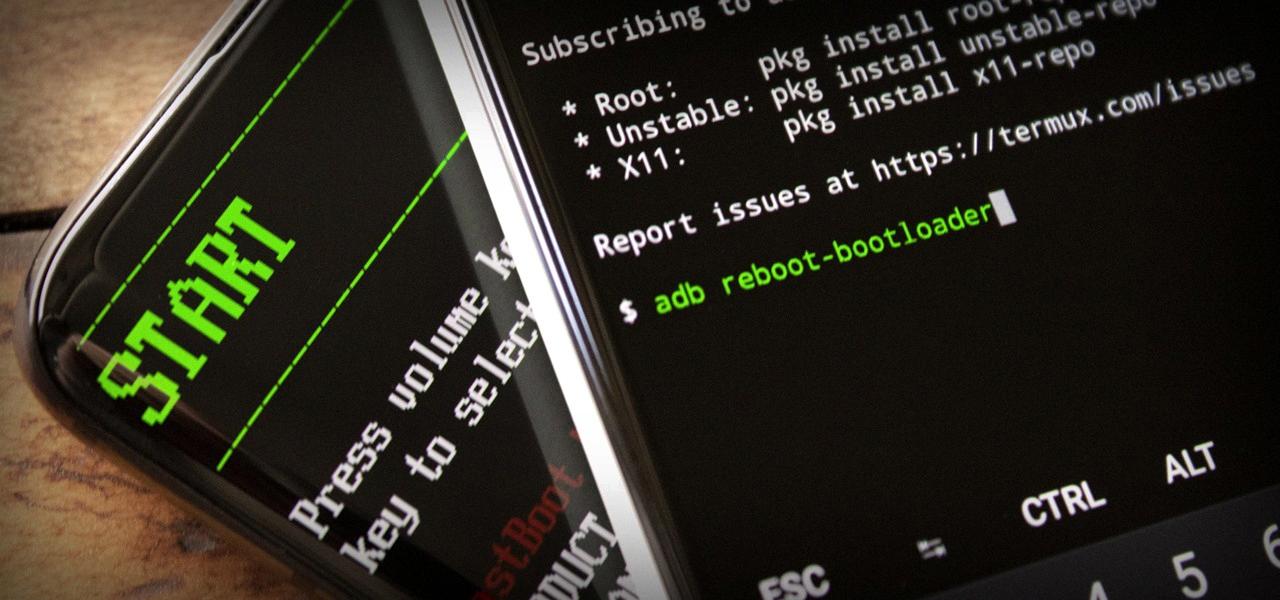
How to Enable USB Debugging From Bootloader?
To enable USB debugging from the bootloader, you can follow these steps:
1. Ensure that your phone is connected to your computer via a USB cable and that USB debugging is enabled on your phone. You can enable USB debugging by going to Settings > Developer options (or Developer settings) > USB debugging. If you don’t see Developer options in your settings, go to Settings > About phone and tap on the build number seven times to enable Developer options.
2. Open a console window on your computer. This can be done by searching for “cmd” (Windows) or “Terminal” (Mac) in the search bar and opening the command prompt or terminal.
3. Once the console window is open, enter the command “adb devices” to check if your device is detected by your computer. If your device is listed, you can proceed to the next step. If not, make sure you have the necessary drivers installed for your phone and try reconnecting it to your computer.
4. Enter the command “adb reboot bootloader” to reboot your phone into bootloader mode. This mode allows you to access the bootloader, which is a program that loads the operating system on your phone.
5. Once your phone is in bootloader mode, enter the command “fastboot devices” to check if your device is detected by your computer in fastboot mode. If your device is listed, you can proceed to the next step. If not, make sure you have the necessary drivers installed for fastboot mode and try reconnecting your phone.
6. to enable USB debugging from the bootloader, enter the command “fastboot oem unlock” in the console window. This command will unlock the bootloader on your phone and enable USB debugging.
Please note that enabling USB debugging from the bootloader might vary slightly depending on the make and model of your phone. It’s always a good idea to consult the official documentation or support forums for your specific device if you encounter any difficulties.
How Do You Enable USB Debugging Remotely?
To enable USB debugging remotely on your Android device, you need to follow a few steps. Please note that this process requires some technical knowledge and access to a computer with the Android Debug Bridge (ADB) tool installed.
1. Install ADB: First, make sure you have ADB installed on your computer. You can download the Android SDK platform tools, which include ADB, from the official Android Developer website.
2. Connect your device: Connect your Android device to the computer using a USB cable. Ensure that USB debugging is already enabled on the device.
3. Check device connection: Open a command prompt or terminal on your computer and enter the following command: adb devices. This will display a list of connected devices. Make sure your device is listed and shows the status as “device.”
4. Enable port forwarding: To enable USB debugging remotely, you need to forward the device’s debugging port to the computer. In the command prompt or terminal, enter the following command: adb forward tcp:5555 tcp:5555.
5. Disconnect USB cable: Once the port forwarding is set up, you can disconnect the USB cable from your device.
6. Connect via network: Now, connect your device and computer to the same Wi-Fi network. This step is crucial as the connection will be established through the network.
7. Find device IP address: On your Android device, go to Settings > About phone/tablet > Status > IP address. Note down the IP address displayed.
8. Establish a remote connection: In the command prompt or terminal, enter the following command: adb connect :5555. Replace “” with the IP address you noted down in the previous step.
9. Allow USB debugging connection: On your Android device, you may receive a prompt asking to allow the USB debugging connection from the computer. Grant the permission by tapping “Allow.”
10. Verify the connection: In the command prompt or terminal, enter the command: adb devices. You should now see your device listed with the status as “device” again, indicating a successful remote USB debugging connection.
Once the remote connection is established, you can use ADB commands or debugging tools on your computer to interact with your Android device remotely.
Note: It’s important to remember that remote USB debugging should be used with caution and only by knowledgeable users.
Conclusion
USB debugging is an essential feature for Android device users who want to connect their device to a computer and access advanced debugging and development options. It allows users to communicate with their device via the Android Debug Bridge (adb) and perform various tasks such as transferring files, installing apps, and running commands from the computer.
Enabling USB debugging on an Android device is relatively simple and can be done through the device’s settings. Once enabled, users can connect their device to a computer using a USB cord and initiate various commands and operations through adb. This is particularly useful for developers, as it allows them to test and debug their apps directly on the device.
Additionally, USB debugging can also be used to enable OEM Unlock, which allows users to unlock the bootloader of their device. This is necessary for performing tasks like flashing custom ROMs or rooting the device.
It is important to note that USB debugging should be used with caution, as it grants access to sensitive device information and can potentially be exploited by malicious software. Therefore, it is recommended to only enable USB debugging when necessary and to keep the device protected with up-to-date security measures.
USB debugging is a powerful tool that provides users with enhanced control over their Android device and opens up a wide range of possibilities for development and customization.


