The Super Nintendo Entertainment System (SNES) is a classic gaming console that has brought joy to millions of gamers around the world. If you are lucky enough to own a Super Nintendo and a smart TV, you may be wondering how to connect the two and enjoy your favorite retro games on a modern screen. Well, look no further! In this article, we will guide you through the steps of connecting your Super Nintendo to a smart TV.
First, let’s talk about the different types of connections you can use to hook up your Super Nintendo to your smart TV. The Super Nintendo uses an AV cable, which consists of three colored plugs: red, white, and yellow. These plugs correspond to the audio and video signals that the Super Nintendo produces. However, most smart TVs do not have the traditional AV inputs that the Super Nintendo requires.
To overcome this, you will need an AV to HDMI converter. This device will convert the AV signals from your Super Nintendo into HDMI signals that your smart TV can understand. You can easily find AV to HDMI converters online or at your local electronics store. Once you have the converter, follow these steps to connect your Super Nintendo to your smart TV:
1. Plug one end of the AV cable into the corresponding ports on the back of your Super Nintendo. The red plug goes into the red port, the white plug goes into the white port, and the yellow plug goes into the yellow port.
2. Connect the other end of the AV cable to the AV to HDMI converter. Again, match the colors of the plugs to the corresponding ports on the converter.
3. Take an HDMI cable and connect one end to the HDMI output port on the converter.
4. Locate an available HDMI port on your smart TV and plug the other end of the HDMI cable into it.
5. Turn on your Super Nintendo and your smart TV.
6. Using your smart TV’s remote control, navigate to the input or source menu and select the HDMI input that corresponds to the port you plugged the HDMI cable into.
7. You should now see the Super Nintendo’s display on your smart TV. If not, double-check that all the cables are securely connected and try selecting a different HDMI input on your TV.
And voila! You have successfully connected your Super Nintendo to your smart TV. Now you can relive the nostalgia of your favorite SNES games on a modern screen.
Connecting your Super Nintendo to a smart TV may require an AV to HDMI converter, but it is a relatively simple process. With the right cables and a little bit of patience, you can enjoy the classic games of your childhood on a big, high-definition screen. So go ahead, grab your Super Nintendo, and get ready to embark on a trip down memory lane. Happy gaming!
How Do You Hook Up a Super Nintendo to a New TV?
To hook up a Super Nintendo to a new TV, follow these steps:
1. Locate an available HDMI port on your television or monitor. It is usually labeled as “HDMI” and can be found on the back or side of the TV.
2. Take one end of the HDMI cable and connect it to the HDMI OUT port on the back of the Super Nintendo control deck. The HDMI OUT port is typically located on the back of the control deck.
3. Place the Super Nintendo control deck on a flat and solid surface, ensuring it is stable and won’t move around.
4. Now, slide the Power switch on the control deck to the ON position. This will turn on the Super Nintendo console.
5. Make sure your TV is turned on and set to the correct HDMI input. Use the remote control or the buttons on the TV to switch to the HDMI input that you connected the Super Nintendo to.
6. Once you have selected the correct HDMI input, you should see the Super Nintendo’s screen displayed on your TV. You can now start playing your favorite games!
Keep in mind that some newer TVs may not have an HDMI port. In that case, you may need to use an HDMI to AV converter, which allows you to connect the Super Nintendo’s HDMI output to the TV’s AV input.
Remember to consult the instruction manual of your specific TV and Super Nintendo model for any additional guidance or troubleshooting tips. Enjoy your gaming experience!
How Do You Hook Up a Nintendo to a Smart TV?
To connect a Nintendo Switch to a smart TV, follow these steps:
1. Locate the dock that came with your Nintendo Switch console.
2. Take the HDMI cable included with the console and connect one end to the bottom terminal of the dock labeled “HDMI OUT.”
3. Find an available HDMI port on your smart TV and connect the other end of the HDMI cable to it.
4. Ensure that the back cover of the Nintendo Switch dock is closed securely.
5. Remove the left and right Joy-Con controllers from the console by holding the release button on the back and sliding them out.
6. Place the Nintendo Switch console into the dock, making sure it is aligned properly.
7. Turn on your smart TV and change the input source to the HDMI port you connected the Nintendo Switch to.
8. Power on the Nintendo Switch by pressing the power button located on the top-left corner of the console.
9. Once the Nintendo Switch is powered on, you should see the console’s display on your smart TV.
Note: If you encounter any issues with the display or audio, ensure that the HDMI cable is firmly connected and that your smart TV is set to the correct input source. Additionally, make sure your Nintendo Switch is updated to the latest firmware version.
Can You Hook Up an Old Nintendo to a New TV?
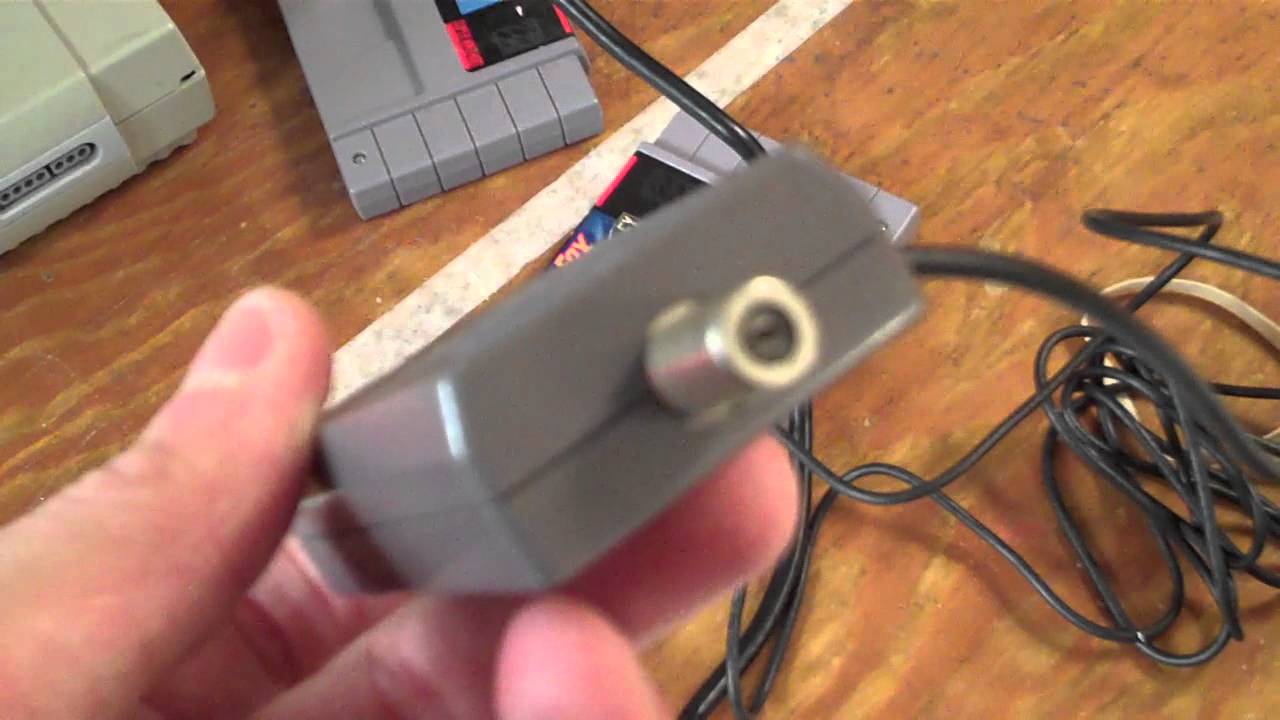
It is possible to connect an old Nintendo to a new TV. However, it is recommended to use an adapter for a cleaner and better quality signal. The older Nintendo consoles, such as the NES, used RF cables that were designed to connect to the antenna port on older TVs. While newer TVs still have an antenna port, using an adapter can provide a more optimal connection.
To hook up an old Nintendo to a new TV, you can follow these steps:
1. Obtain an RF to HDMI adapter or an RF to AV adapter, depending on the available ports on your new TV. Make sure the adapter is compatible with your specific Nintendo console model.
2. Connect the RF cable from your Nintendo console to the RF input port on the adapter.
3. If using an RF to HDMI adapter, connect the HDMI cable from the adapter to an available HDMI input port on your TV. If using an RF to AV adapter, connect the AV cable (composite or component) from the adapter to the corresponding AV input ports on your TV.
4. Power on your Nintendo console and your TV.
5. Switch the input source on your TV to the corresponding HDMI or AV input where you connected the Nintendo console.
6. You should now see the video and hear the audio from your old Nintendo console on your new TV.
While it is possible to connect an old Nintendo to a new TV, using an adapter will help ensure a cleaner and better quality signal for an optimal gaming experience.
Why is Your Super Nintendo Not Showing on TV?
There could be several reasons why your Super Nintendo is not showing on your TV. Here are some possible causes and troubleshooting steps you can take:
1. Check the connection: Ensure that the HDMI cable is securely connected to both the Super Nintendo and the TV. Make sure it is inserted fully into the HDMI ports.
2. Try a different HDMI port: If the connection is secure but still no display, try using a different HDMI port on your TV. Sometimes certain ports may not be functioning properly.
3. Test with a different HDMI cable: The HDMI cable itself could be faulty. Try using a different HDMI cable to see if that resolves the issue.
4. Verify TV input source: Make sure that your TV is set to the correct input source. Use the TV remote to navigate through the input options and select the one that corresponds to the HDMI port you have connected the Super Nintendo to.
5. Power cycle the devices: Turn off both the Super Nintendo and the TV. Unplug them from the power source and wait for a few minutes. Then, plug them back in and power them on again. This can sometimes reset any temporary issues.
6. Test on a different TV or monitor: If possible, connect your Super Nintendo to a different TV or monitor to see if the issue persists. This can help determine if the problem lies with the console or the TV.
7. Check for compatibility: Ensure that your Super Nintendo is compatible with your TV. Some older TVs may not support certain resolutions or video formats. Refer to the instruction manual or check the manufacturer’s website for compatibility information.
If none of these steps resolve the issue, it may be worth contacting technical support for further assistance.
Conclusion
The Super Nintendo offers a variety of options for connecting to your television or monitor. By using an HDMI cable, you can ensure a high-quality, clear image on your screen. Simply connect one end of the HDMI cable to the HDMI OUT port on the back of the control deck, and the other end to an available HDMI port on your TV or monitor. Make sure the control deck is placed on a flat, solid surface and slide the Power switch to the ON position.
If you’re using the Nintendo Switch, the process is slightly different. Connect one end of the HDMI cable into the bottom terminal of the dock labeled “HDMI OUT,” and the other end into an HDMI port on your TV or monitor. Close the back cover of the dock and remove the Joy-Con controllers from the console.
If you encounter any issues with the display, there are a few troubleshooting steps you can try. First, use a different HDMI port on your TV or monitor to see if that resolves the issue. If not, try using a different HDMI cable to rule out any potential cable issues. Lastly, if possible, try connecting the Super Nintendo to a different TV or monitor to determine if the issue lies with the device or the display.
With the proper setup and troubleshooting, you can enjoy the classic games and entertainment of the Super Nintendo on your modern television or monitor.


