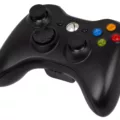
A gamepad is a popular accessory for gaming enthusiasts, providing a more immersive and comfortable experience when playing games on your Android device. Connecting and configuring a gamepad on your Android device is a relatively simple process, allowing you to enjoy your favorite games with ease. In this article, we will guide you through the steps to connect and configure a gamepad on your Android device.
To begin, make sure your gamepad is compatible with your Android device. Most modern gamepads, such as Xbox One or PlayStation controllers, are compatible with Android devices. However, it’s always a good idea to check the compatibility before purchasing or using a gamepad with your Android device.
To connect a gamepad to your Android device, you have two options: USB and Bluetooth. Let’s start with the USB connection method.
First, connect your gamepad to your Android device using a USB cable. Once connected, your Android device should automatically detect the gamepad. If prompted, grant permission to access the gamepad. Some devices may require you to enable USB debugging in the developer options settings.
Once your gamepad is connected, you can start configuring it for optimal performance. Open the game you want to play and navigate to the game’s settings. Look for the controller settings or input settings option. In this menu, you can customize the button mappings to your preference. Most games have preconfigured settings for popular gamepads, but you can also manually map the buttons if needed.
Now, let’s move on to the Bluetooth connection method. If your gamepad supports Bluetooth connectivity, you can enjoy wireless gaming on your Android device.
To connect your gamepad via Bluetooth, turn on your gamepad and put it into pairing mode. On most gamepads, you can do this by holding down the power button or a specific button combination. Refer to your gamepad’s user manual for specific instructions.
On your Android device, go to the Bluetooth settings and enable Bluetooth. Your device will start scanning for available devices. When your gamepad appears in the list of available devices, tap on it to establish the connection. Once connected, you can proceed with configuring the gamepad settings within your game.
To configure the gamepad settings, follow the same steps as mentioned earlier for the USB connection method. Open the game you want to play, navigate to the settings menu, and customize the button mappings according to your preference.
It’s worth noting that not all games support gamepad controllers. Before purchasing or connecting a gamepad, make sure to check the game’s compatibility with gamepad controllers.
Connecting and configuring a gamepad on your Android device can enhance your gaming experience by providing more precise controls and a comfortable grip. Whether you choose to connect your gamepad via USB or Bluetooth, the process is relatively straightforward. Just make sure to check the compatibility of your gamepad with your Android device and the games you want to play. Enjoy gaming with your newly configured gamepad on your Android device!
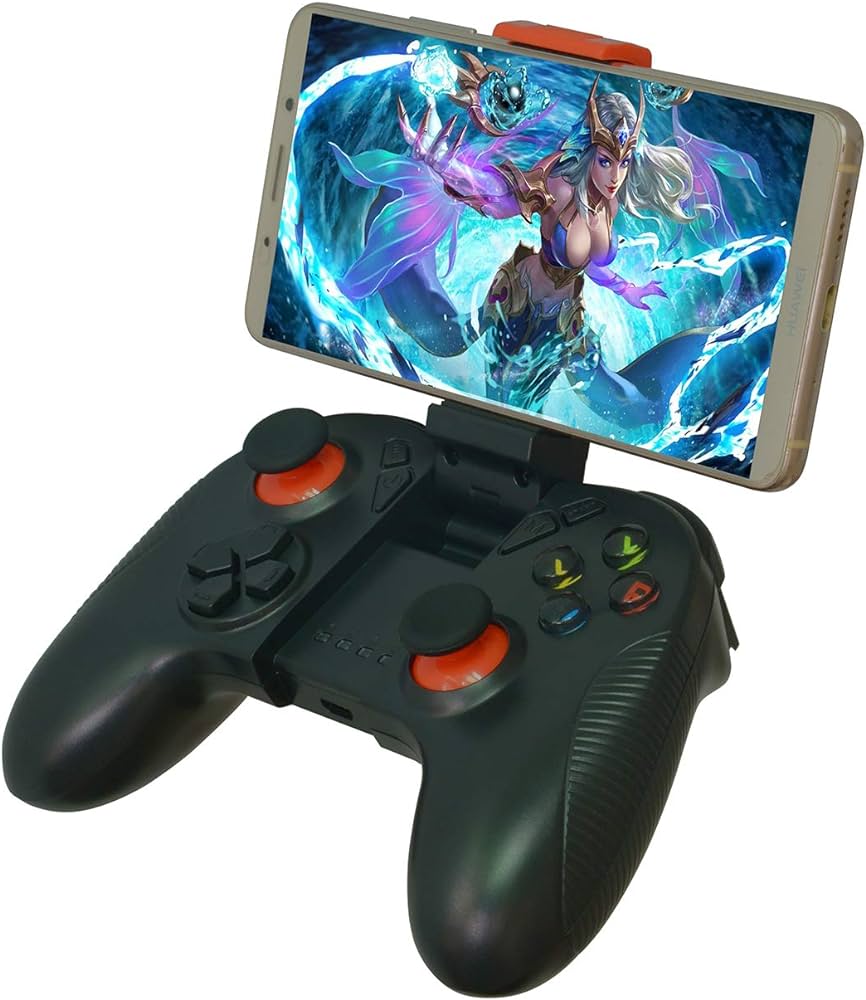
How Do You Configure a Controller on Android?
To configure a controller on Android, follow these steps:
1. Make sure your controller is compatible with Android. Most modern controllers, such as Xbox or PlayStation controllers, are compatible.
2. Turn on Bluetooth on your Android device. Go to Settings > Connected devices > Bluetooth and toggle it on.
3. Put your controller in pairing mode. This process may vary depending on the controller brand and model. Refer to the controller’s user manual for specific instructions on how to enter pairing mode.
4. On your Android device, go to Settings > Connected devices > Pair new device. Your phone will start scanning for available devices.
5. Your phone should detect the controller. Tap on its name to establish the connection.
6. Once the controller is connected, it should be ready to use in supported games. Some games will automatically detect the controller and enable it, while others may require you to manually configure the controls in the game’s settings.
Note: If your controller has a USB connection, you can also connect it directly to your Android device using a USB OTG (On-The-Go) adapter. In this case, simply plug the controller into the adapter, then connect the adapter to your Android device’s USB port. The game should detect the controller once it’s connected.
Remember, not all games support controllers, so make sure to check the game’s compatibility before attempting to use a controller.
How Do You Configure Your Gamepad Controller?
To configure your gamepad controller, follow these steps:
1. Turn on your controller. Locate the power button and switch it on. Ensure that the controller has enough battery power or is connected to a power source.
2. Press and hold the Sync button. Look for the Sync button on the top of your controller, usually near the USB port. Press and hold this button until the Guide button starts flashing. This puts your controller in pairing mode.
3. Open the Bluetooth menu on your PC. Go to the settings on your computer and navigate to the Bluetooth menu. The exact location can vary depending on your operating system, so refer to your computer’s user manual or search online for specific instructions.
4. Select “Add device”. In the Bluetooth menu, look for the option to add a new device. This will prompt your computer to start searching for available devices to connect to.
5. Wait for your controller to be found. Your computer will scan for nearby Bluetooth devices, and your controller should appear in the list of results. This may take a few moments, so be patient.
6. Choose your controller from the results. Once your controller is detected, click on its name or icon in the list of available devices. This will initiate the pairing process between your computer and the controller.
7. Complete the setup. After selecting your controller, follow any on-screen prompts or instructions to complete the pairing and setup process. This may involve confirming a passcode or entering a PIN, if prompted.
8. Test your controller. Once the setup is complete, you can test your gamepad controller by opening a game or an application that supports gamepad input. Ensure that the controller is functioning correctly and that all buttons and analog sticks are responsive.
By following these steps, you should be able to configure your gamepad controller and start using it with your PC. Enjoy your gaming experience!
How Do You Setup Your Mobile Gamepad?
To set up your mobile gamepad, follow these steps:
1. Make sure your gamepad is compatible with your Android device. Most gamepads will work with Android devices, but it’s always a good idea to check the manufacturer’s website for compatibility information.
2. Power on your gamepad by holding the power button. Some gamepads may have a separate power button, while others may turn on automatically when connected.
3. On your Android device, go to the Settings menu and select “Bluetooth.”
4. Make sure Bluetooth is turned on, then tap on “Pair new device” or a similar option. Your Android device will start scanning for nearby Bluetooth devices.
5. On your gamepad, locate the Bluetooth pairing button. This button is usually located on the top or back of the gamepad. Press and hold the Bluetooth pairing button until the LED indicator starts flashing.
6. Your Android device should now detect the gamepad. When it appears in the list of available devices, tap on it to start the pairing process. The LED indicator on the gamepad should stop flashing and remain lit, indicating a successful connection.
7. Once the gamepad is connected, you may need to configure the controls for your specific game. Some games have built-in support for gamepads, while others may require you to map the buttons manually. Check the game’s settings or options menu for controller configuration.
That’s it! Your gamepad should now be connected to your Android device and ready to use. Enjoy your gaming experience with the added convenience of a physical controller.
How Do You Calibrate a Controller on Android?
To calibrate a controller on Android, follow these steps:
1. Start by pressing and holding down both the RB (Right Bumper) and R3 (Right Stick Click) buttons on your controller simultaneously for two seconds. The LED on the controller will begin to flash, indicating that it is now in calibration mode.
2. Once in calibration mode, you need to rotate the joystick to its maximum extent in a complete circle three times. This means moving the joystick as far as it can go in all directions – up, down, left, and right – in a circular motion. This action helps the controller assess its full range of motion.
3. After completing the joystick rotation, you should proceed to max-press the trigger (usually the right or left trigger button) three times. Similar to the joystick rotation, this step helps the controller recognize the full range of motion for the trigger.
4. Once you have completed the joystick rotation and trigger presses, you can save the calibration settings. To do this, press the RB (Right Bumper) button and the A button simultaneously. This action will save the calibration data and exit the calibration mode.
Following these steps will ensure that your controller is calibrated on Android, which can help improve its performance and accuracy when playing games or using other apps.
Conclusion
Connecting a gamepad to your Android device or PC can greatly enhance your gaming experience. Whether you’re playing games on your phone or on your computer, a gamepad offers more precise control and a more immersive gameplay.
To connect a gamepad to your Android device, simply enable Bluetooth on both devices and go to the Bluetooth settings on your phone to pair the controller. Once connected, games that support controllers will automatically detect the gamepad and you can start playing with it.
For connecting a gamepad to your PC, you’ll need to use Bluetooth or a USB connection. To connect via Bluetooth, turn on your gamepad and put it in pairing mode. Then, go to the Bluetooth settings on your PC and search for the controller. Once found, select it and complete the setup. If you prefer a USB connection, simply plug the gamepad into a USB port on your PC and it should be detected automatically.
Once your gamepad is connected, you may need to calibrate it to ensure optimal performance. This can usually be done through the gamepad’s settings or control panel on your device. Follow the instructions provided by the manufacturer to calibrate the gamepad.
Using a gamepad can make your gaming experience more enjoyable and immersive. It provides better control and precision, allowing you to fully immerse yourself in the game. So, whether you’re playing on your Android device or PC, consider connecting a gamepad to take your gaming to the next level.

